The Ultimate Guide to Using Animation Tools in Roblox Studio: From Beginner to Pro
Related Articles
- The Ultimate Guide To Making Real Money On Roblox: From Beginner To Pro
- How To Choose The Best Roblox Game For Your Mood: A Guide To Finding Your Perfect Virtual Playground
- Mastering The Obstacles: A Guide To Conquering Roblox Obby Games
- How To Get Your Game Featured On Roblox’s Front Page: A Comprehensive Guide
- Unleash The Fun: Best Roblox Games To Play On Your Phone
Introduction
Join us as we explore The Ultimate Guide to Using Animation Tools in Roblox Studio: From Beginner to Pro, packed with exciting updates
The Ultimate Guide to Using Animation Tools in Roblox Studio: From Beginner to Pro
Roblox Studio is a powerful platform for creating immersive experiences, and animations are a crucial element in bringing those experiences to life. Whether you’re building a captivating character, adding dynamic interactions, or simply bringing some life to your game world, understanding the animation tools is essential. This comprehensive guide will take you on a journey from basic animation techniques to advanced tricks and hidden secrets, empowering you to create stunning animations that elevate your Roblox creations.
1. The Fundamentals: Getting Started with Animation
Before diving into the secrets, it’s crucial to have a solid foundation. Let’s start with the basics of using Roblox Studio’s animation tools:
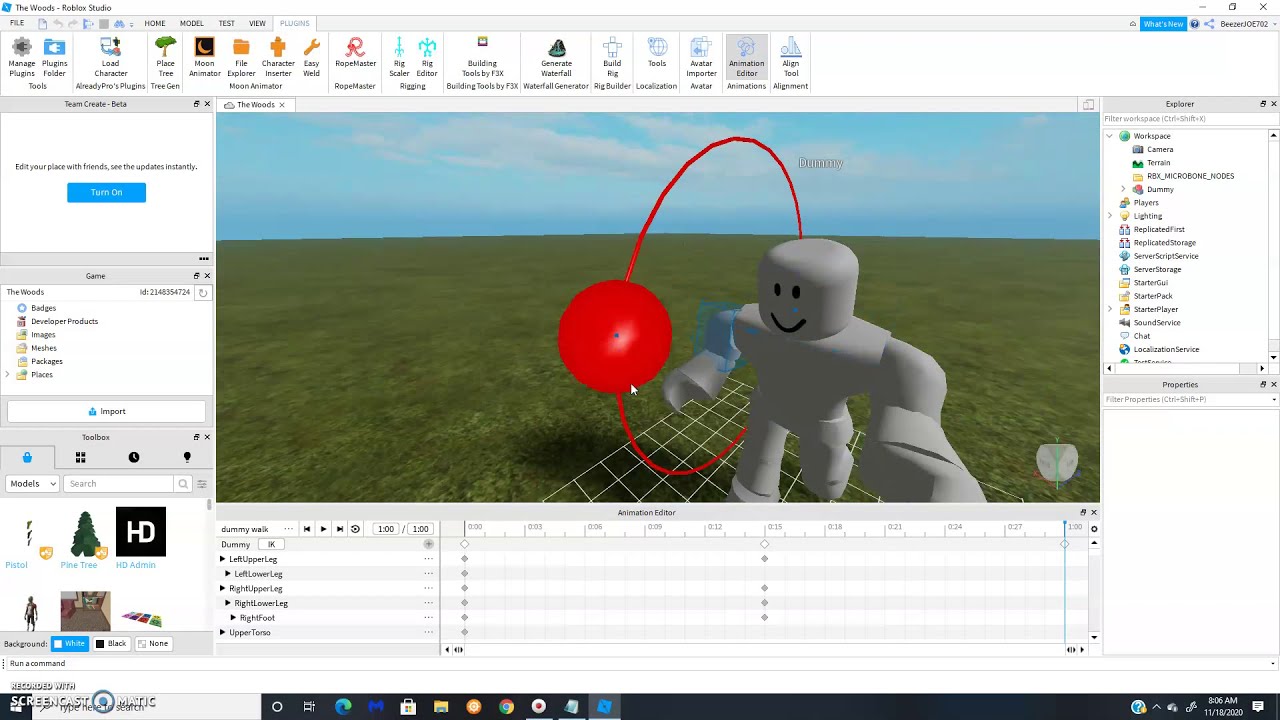
1.1 The Animation Editor:
- Understanding the Interface: The Animation Editor is your playground for creating and manipulating animations. Familiarize yourself with the key components:
- Timeline: This is the heart of the editor, where you define the duration of your animation and the timing of keyframes.
- Animation Tracks: These tracks represent different aspects of your animation, such as position, rotation, and size.
- Keyframes: These are the markers on the timeline that define a specific state of your animation.
- Properties Panel: This panel allows you to adjust various properties of your animation, including easing, interpolation, and more.
1.2 Creating Your First Animation:
- The Animation Toolbar: The toolbar provides you with the essential tools for creating animations:
- Insert Keyframe: Adds a keyframe at the current time position on the timeline.
- Create Animation: Creates a new animation for the selected part or object.
- Play/Pause/Stop: Controls the playback of your animation.
- Keyframe Basics:
- Adding Keyframes: Click "Insert Keyframe" to add a keyframe. Adjust the position, rotation, or other properties of your part or object to define the state at that keyframe.
- Easing and Interpolation: Experiment with different easing functions to create smooth transitions between keyframes.
- Using the Animation Tracks: Each track corresponds to a different property of your animation. Use the tracks to manipulate position, rotation, size, and other aspects independently.
1.3 Saving and Using Your Animations:
- Saving Your Animation: Once you’re happy with your creation, save it as an .rbxmx file.
- Applying Animations: In your Roblox game, you can apply your saved animation to any part or object using the "Animation" property in the properties panel.
- Animation Controllers: Use Animation Controllers to manage and play multiple animations on your objects.
2. Beyond the Basics: Mastering the Art of Animation
Now that you have a grasp of the fundamentals, let’s explore some advanced techniques that will take your animations to the next level:
2.1 Advanced Keyframing Techniques:
- Linear Interpolation: Creates a constant change between keyframes.
- Smooth Interpolation: Provides a smoother, more natural transition between keyframes.
- Easing Functions: These allow you to control the speed and smoothness of transitions between keyframes, creating a more dynamic and engaging animation.
- Keyframe Blending: This technique allows you to smoothly blend between two or more keyframes, creating seamless transitions and natural movements.
2.2 Animation Tracks and Their Applications:
- Position Track: Controls the movement of your part or object in space.
- Rotation Track: Defines the rotation of your part or object.
- Size Track: Allows you to adjust the size and scale of your part or object over time.
- Transparency Track: Manipulates the transparency of your part or object, creating effects like fading in or out.
- Color Track: Changes the color of your part or object over time.
- CFrame Track: Provides a more advanced way to control both position and rotation simultaneously.
2.3 Using Animation Controllers:
- Animation Controller Basics: Animation Controllers are essential for managing and playing multiple animations on your objects.
- Adding Animations: Load your saved animations into the Animation Controller.
- Setting Animation Priorities: Define the order in which animations are played, allowing for seamless transitions and responsive behaviors.
- Triggering Animations: Use events or scripts to trigger specific animations, making your game more interactive.
3. The Secret Sauce: Unlocking Hidden Animation Techniques
Now let’s delve into some hidden tips and tricks that will elevate your animations from good to great:
3.1 Leveraging the Power of Animation Tracks:
- Combining Tracks for Complex Movements: Use multiple tracks simultaneously to create complex movements that involve both position, rotation, and scaling.
- Animating with CFrames: The CFrame track offers a powerful way to control both position and rotation in a single track.
- Using Tracks for Creative Effects: Explore the possibilities of using tracks for unexpected effects, such as creating a character’s breathing animation by adjusting the size of their chest.
3.2 Creating Dynamic and Responsive Animations:
- Using Scripting for Animation Control: Combine animation with scripting to create dynamic and responsive animations that react to user input or game events.
- Animating with Constraints: Constraints can be used to create animations that are influenced by other parts or objects. For example, you can use a HingeConstraint to create a swinging door animation.
- Using the "Animate" Function: This function allows you to animate properties of parts or objects directly from scripts, providing more control over animation timing and behavior.
3.3 Advanced Animation Techniques:
- Inverse Kinematics (IK): IK allows you to control the position of a part or object by manipulating its end effector, simplifying the process of creating complex limb movements.
- Motion Capture: Import motion capture data to create realistic and detailed animations.
- Using External Tools: Explore external animation software like Blender or Maya to create complex animations and import them into Roblox Studio.
4. BIG SECRET: The Ultimate Animation Hack
While Roblox Studio offers a powerful set of animation tools, there’s a hidden secret that can unlock even greater possibilities: Understanding the power of the "CFrame" data type.
4.1 CFrame: The Key to Advanced Animation:
- What is CFrame? CFrame stands for "Coordinate Frame," and it represents a combination of position, rotation, and scaling in 3D space.
- CFrame in Animation: CFrames are the foundation of animation in Roblox Studio. By manipulating CFrames, you can precisely control the position, rotation, and scale of any part or object.
- Using CFrames with Animation Tracks: You can use the "CFrame" track to directly manipulate CFrames, giving you fine-grained control over your animations.
- Scripting with CFrames: CFrames can be manipulated using scripting, allowing you to create dynamic and responsive animations.
4.2 The Power of CFrames:
- Creating Complex Movements: Use CFrames to create smooth and complex movements that are difficult to achieve with traditional keyframing techniques.
- Animating with Constraints: CFrames can be used to create animations that are influenced by other parts or objects, such as creating a realistic swinging door animation.
- Creating Procedural Animations: Use CFrames to create animations that are generated procedurally, such as a character walking across a complex terrain.
4.3 Examples of CFrame Magic:
- Creating a Smooth Swinging Door: By manipulating the CFrame of a door hinge, you can create a realistic swinging door animation that smoothly interacts with the environment.
- Animating a Character’s Walking Cycle: Use CFrames to control the position and rotation of a character’s limbs, creating a natural and fluid walking animation.
- Creating a Dynamic Camera System: CFrames can be used to control the position and rotation of the camera, allowing you to create dynamic camera movements that enhance the player’s experience.
5. Conclusion: The Journey Continues
This guide has provided you with a comprehensive overview of the animation tools in Roblox Studio, from the fundamentals to advanced techniques and hidden secrets. By mastering these tools, you can create stunning animations that bring your Roblox creations to life. Remember, the journey of animation is ongoing. Continue to experiment, explore, and push the boundaries of what’s possible.
Frequently Asked Questions (FAQs)
1. What are some good resources for learning more about animation in Roblox Studio?
- The Roblox Developer Hub: https://developer.roblox.com/
- The Roblox Animation Wiki: https://wiki.roblox.com/index.php?title=Animation
- YouTube Tutorials: Search for "Roblox Animation Tutorials" on YouTube.
2. How can I improve the quality of my animations?
- Study Real-World Movement: Observe how people and objects move in the real world to gain inspiration for your animations.
- Use References: Use reference images or videos to help you create accurate and realistic animations.
- Experiment with Easing Functions: Experiment with different easing functions to create smooth and natural transitions between keyframes.
- Practice, Practice, Practice: The more you practice, the better your animations will become.
3. What are some tips for creating convincing character animations?
- Focus on the Body Mechanics: Pay attention to how a character’s body moves and interacts with the environment.
- Create a Sense of Weight: Make your animations feel realistic by considering the weight and mass of your character.
- Use Facial Expressions: Add facial expressions to your animations to convey emotions and make your characters more engaging.
4. How can I create animations that are responsive to user input?
- Use Scripting: Combine animation with scripting to create animations that react to user input or game events.
- Use Animation Controllers: Animation Controllers allow you to manage and play multiple animations on your objects, making it easier to create responsive animations.
5. What are some advanced animation techniques that I can explore?
- Inverse Kinematics (IK): IK simplifies the process of creating complex limb movements.
- Motion Capture: Import motion capture data to create realistic and detailed animations.
- Using External Tools: Explore external animation software like Blender or Maya to create complex animations and import them into Roblox Studio.
6. What are some resources for finding animation assets for my Roblox games?
- The Roblox Asset Store: https://www.roblox.com/catalog
- Third-Party Asset Stores: There are several third-party asset stores that offer animation assets for Roblox.
7. How can I learn more about using CFrames in my animations?
- The Roblox Developer Hub: https://developer.roblox.com/
- YouTube Tutorials: Search for "Roblox CFrame Animation Tutorials" on YouTube.
8. What are some tips for creating smooth and natural-looking animations?
- Use Easing Functions: Easing functions help create smooth transitions between keyframes.
- Pay Attention to Timing: The timing of your animations is crucial for creating a sense of realism.
- Use References: Study real-world movement to gain inspiration for your animations.
9. How can I create animations that are optimized for performance?
- Minimize the Number of Keyframes: Use as few keyframes as possible to create your animations.
- Optimize Your Animations: Use the Roblox Animation Editor’s optimization tools to reduce the file size of your animations.
- Use Animation Controllers: Animation Controllers allow you to manage and play multiple animations on your objects, which can improve performance.
10. What are some tips for creating animations that are visually appealing?
- Use Color and Lighting: Use color and lighting to enhance the visual appeal of your animations.
- Add Details: Add small details to your animations to make them more interesting and engaging.
- Experiment with Different Styles: Don’t be afraid to experiment with different animation styles to find what works best for your game.
Remember: The journey of animation is ongoing. Continue to experiment, explore, and push the boundaries of what’s possible.
Source: Roblox Developer Hub
Closure
Thank you for reading! Stay with us for more insights on The Ultimate Guide to Using Animation Tools in Roblox Studio: From Beginner to Pro.
Don’t forget to check back for the latest news and updates on The Ultimate Guide to Using Animation Tools in Roblox Studio: From Beginner to Pro!
Feel free to share your experience with The Ultimate Guide to Using Animation Tools in Roblox Studio: From Beginner to Pro in the comment section.
Keep visiting our website for the latest trends and reviews.