
How to create Roblox terrain step by step is a journey into the heart of Roblox game development, allowing you to transform flat landscapes into breathtaking environments. This guide will equip you with the knowledge and skills to craft immersive worlds, from rolling hills and towering mountains to serene lakes and rushing rivers. We’ll cover everything from the basics of the Roblox Terrain Editor to advanced techniques for optimizing performance and creating stunning visual effects.
Prepare to unleash your creativity and build the landscapes of your dreams within the Roblox universe.
This comprehensive guide will walk you through each stage of terrain creation, starting with a thorough explanation of the Roblox Terrain Editor’s interface and tools. We will then explore methods for importing and preparing terrain data, sculpting and shaping your landscape, adding detail and texture, and implementing water and other features. We’ll also delve into advanced techniques such as using noise functions to generate realistic terrain and optimizing your creations for optimal performance.
Finally, we’ll conclude with a step-by-step tutorial to help you build your first Roblox terrain masterpiece.
Roblox Terrain Editor: A Comprehensive Guide
Creating immersive and engaging Roblox experiences often hinges on the quality of the terrain. This guide provides a step-by-step approach to mastering the Roblox terrain editor, from basic functionalities to advanced techniques. We’ll cover importing data, sculpting, texturing, optimization, and more, empowering you to build breathtaking landscapes within your Roblox games.
Roblox Terrain Editor Interface and Tools
The Roblox terrain editor provides a user-friendly interface for sculpting and manipulating terrain. Its intuitive design allows for both basic and advanced terrain creation. The editor’s main window displays the 3D terrain model, offering various tools and options for manipulation. Understanding these tools is key to effective terrain design.
The terrain editor features a range of tools, including Raise/Lower, Smooth, Flatten, and more. Each tool offers unique functionalities for shaping the terrain. For example, the Raise tool increases the height of the terrain, while the Lower tool decreases it. The Smooth tool softens sharp edges and transitions, while the Flatten tool creates flat surfaces.
| Tool | Function | Example Usage | Brush Size/Strength |
|---|---|---|---|
| Raise | Increases terrain height. | Creating mountains or hills. | Adjustable via slider or input field. |
| Lower | Decreases terrain height. | Creating valleys or depressions. | Adjustable via slider or input field. |
| Smooth | Smooths out terrain irregularities. | Softening harsh edges of mountains or valleys. | Affects the radius of smoothing. |
| Flatten | Creates a flat surface. | Creating a flat plane for building or other purposes. | Defines the area affected. |
Importing and Preparing Terrain Data
Roblox supports importing custom terrain data to enhance the level of detail and realism in your creations. This allows for greater control and flexibility in designing your game’s environment. Understanding the supported file formats and preparation techniques is crucial for a smooth import process.
Roblox primarily supports heightmap images for terrain import. These images use grayscale values to represent terrain height; darker pixels indicate lower elevations, and lighter pixels indicate higher elevations. Other formats may be indirectly used via conversion to a heightmap.
- Select a Heightmap Image: Choose a grayscale image (e.g., PNG or JPG) representing your desired terrain.
- Import into Roblox Studio: Navigate to the Terrain tab in Roblox Studio and use the import function.
- Adjust Settings (Optional): Fine-tune parameters like scale and offset to match your desired terrain dimensions.
- Verify Import: Inspect the imported terrain for any anomalies or issues.
Preparing a heightmap involves ensuring the image resolution is appropriate for the desired level of detail and the target platform. Higher resolutions generally lead to more detailed terrain but also increased performance demands. A common workflow includes using image editing software to adjust contrast and levels for optimal height representation.
Sculpting and Shaping the Terrain
Effective terrain sculpting involves a combination of tools and techniques to achieve realistic and visually appealing landscapes. Mastering these techniques allows for the creation of diverse and engaging environments within your Roblox games.
Creating realistic mountains involves using the Raise tool strategically, building up peaks and slopes gradually. Valleys can be carved using the Lower tool, ensuring smooth transitions between elevations. The Smooth tool is crucial for blending different terrain features and removing harsh edges.
- Use a variety of brush sizes for both large-scale shaping and fine detailing.
- Employ the Smooth tool frequently to refine your work and prevent jagged edges.
- Consider the overall flow and natural forms when sculpting.
- Iterate and refine your design until you achieve the desired look.
Adding Detail and Texture to Terrain
Adding textures is crucial for enhancing the visual appeal and realism of your terrain. Roblox offers a range of built-in textures, and you can also create custom textures for unique visual effects.
Painting textures onto the terrain is done using the texture painting tools within the Roblox terrain editor. You can select different textures and adjust their brush size and opacity to control their application. Experimenting with different textures and their combinations can significantly improve the visual quality of your terrain.
| Texture Type | Visual Effect | Application Example | Considerations |
|---|---|---|---|
| Grass | Green, grassy surface. | Fields, plains. | Can be combined with other textures for variation. |
| Sand | Light brown, sandy surface. | Beaches, deserts. | Good for contrasting with other textures. |
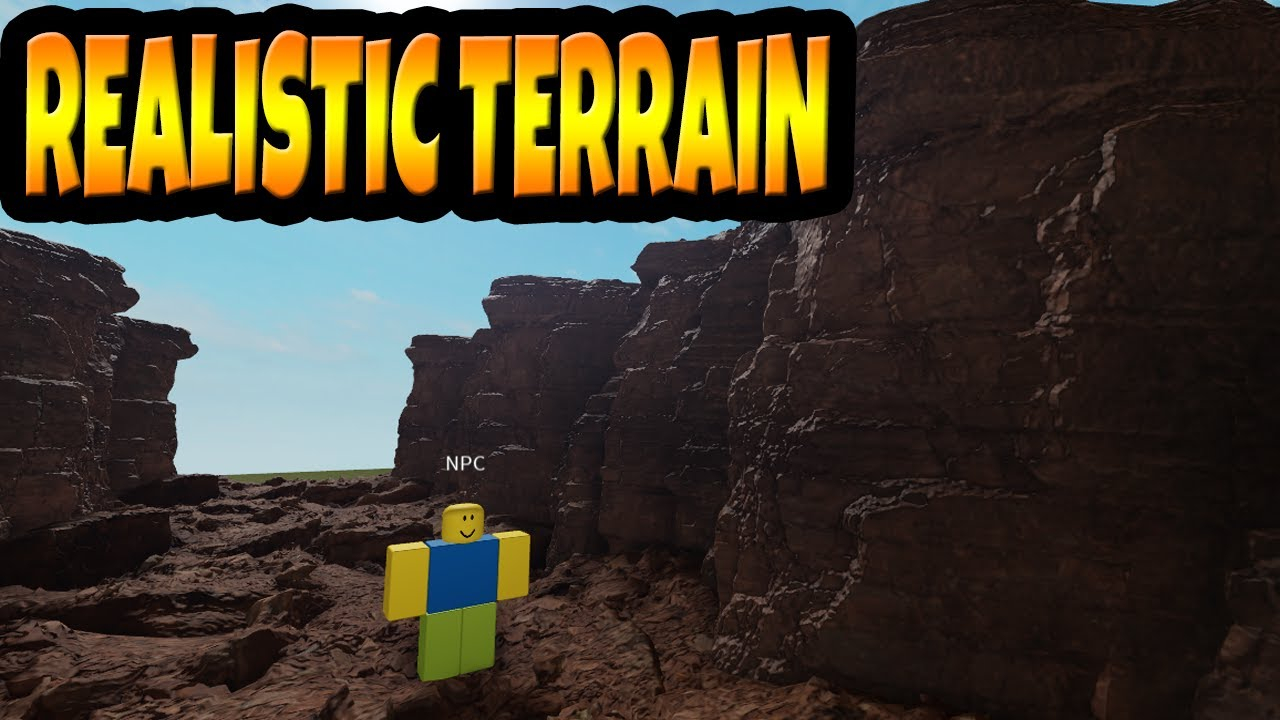
| Rock | Gray, rocky surface. | Mountains, cliffs. | Use strategically to add visual interest. |
| Snow | White, snowy surface. | Mountains, polar regions. | Use with appropriate lighting for effect. |
Implementing Water and Other Terrain Features
Adding water and other features significantly enhances the realism and immersion of your Roblox terrain. Roblox provides tools and techniques for creating various water bodies and integrating other elements seamlessly.
Creating realistic-looking water involves using the water tool in the terrain editor. You can adjust water properties like transparency, color, and reflectivity to achieve the desired visual effect. Rivers and lakes can be sculpted using the terrain tools, followed by applying the water texture.
Adding trees, rocks, and vegetation can be done using Roblox Studio’s built-in assets or custom models. Strategic placement of these elements can significantly enhance the visual appeal and realism of your terrain.
Optimizing Terrain Performance, How to create roblox terrain step by step

Source: ytimg.com
Optimizing terrain is crucial for maintaining smooth gameplay, especially on lower-end devices. This involves reducing polygon count and memory footprint to minimize performance overhead.
Reducing polygon count involves simplifying the terrain geometry. This can be achieved by using lower-resolution heightmaps or by employing in-game terrain simplification techniques. Reducing the memory footprint involves optimizing texture sizes and using efficient material properties.
- Reduce Terrain Resolution: Use a lower-resolution heightmap during the initial import.
- Simplify Geometry: Utilize the Smooth tool to reduce sharp edges and excessive detail.
- Optimize Textures: Use smaller, lower-resolution textures where appropriate.
- Test and Iterate: Regularly test your terrain’s performance to identify and address bottlenecks.
Advanced Terrain Techniques
Advanced techniques enable the creation of highly detailed and complex terrains. These techniques leverage procedural generation and scripting to automate and enhance the terrain creation process.
Noise functions can be used to generate realistic-looking terrain variations, creating natural-looking mountains, valleys, and other features. Scripts can automate tasks such as terrain generation, texture application, and object placement, saving time and effort.
Creating seamless transitions between different terrain types involves careful planning and execution. This often requires blending textures and adjusting terrain heights to create a smooth and natural-looking transition.
Creating a Sample Island Terrain
Let’s create a simple island terrain. This step-by-step tutorial demonstrates the fundamental techniques covered in this guide.
- Import a Circular Heightmap: Start with a grayscale image representing a basic island shape.
- Sculpt the Island: Use the Raise and Lower tools to refine the island’s shape, creating gentle slopes and a higher central peak.
- Add Beaches: Use the Lower tool to create a gradual slope around the island’s edges, forming beaches.
- Apply Textures: Paint grass on the higher elevations, sand on the beaches, and perhaps some rock formations along the cliffs.
- Add Water: Use the water tool to surround the island, creating a realistic ocean effect.
At various stages, the island will progress from a simple circular shape to a more detailed and realistic island with beaches, varying elevations, and textures. Visualize this process as a transformation from a basic circle to a detailed island landscape with distinct features.
Conclusive Thoughts
Source: amazonaws.com
Creating compelling Roblox terrain is a rewarding process that combines artistic vision with technical skill. By mastering the techniques Artikeld in this guide, you’ll be able to transform your game worlds from simple flat surfaces into dynamic and engaging environments. Remember to experiment, iterate, and most importantly, have fun bringing your creative visions to life within the Roblox platform.
The possibilities are endless – go forth and build!
FAQ Summary: How To Create Roblox Terrain Step By Step
What are the system requirements for using the Roblox Terrain Editor effectively?
Roblox recommends a reasonably powerful computer with sufficient RAM and a dedicated graphics card for optimal performance, especially when working with large or complex terrains. Specific requirements vary depending on the complexity of your project.
Can I use external software to create terrain models before importing them into Roblox?
Yes, you can create terrain models using external 3D modeling software like Blender or 3ds Max. These models can then be exported in a suitable format (like OBJ) and imported into Roblox, though you might need to adjust the model for optimal performance within the Roblox environment.
How do I save my progress while working on a Roblox terrain?
Roblox automatically saves your progress frequently. However, it’s always a good practice to manually save your work periodically by saving your Roblox place. This safeguards against unexpected issues or crashes.
Are there any limitations on the size or complexity of the terrain I can create?
Yes, there are limitations. Extremely large or highly detailed terrains can impact game performance. Optimizing your terrain using techniques like reducing polygon count is crucial for maintaining a smooth gameplay experience, especially on lower-end devices.