
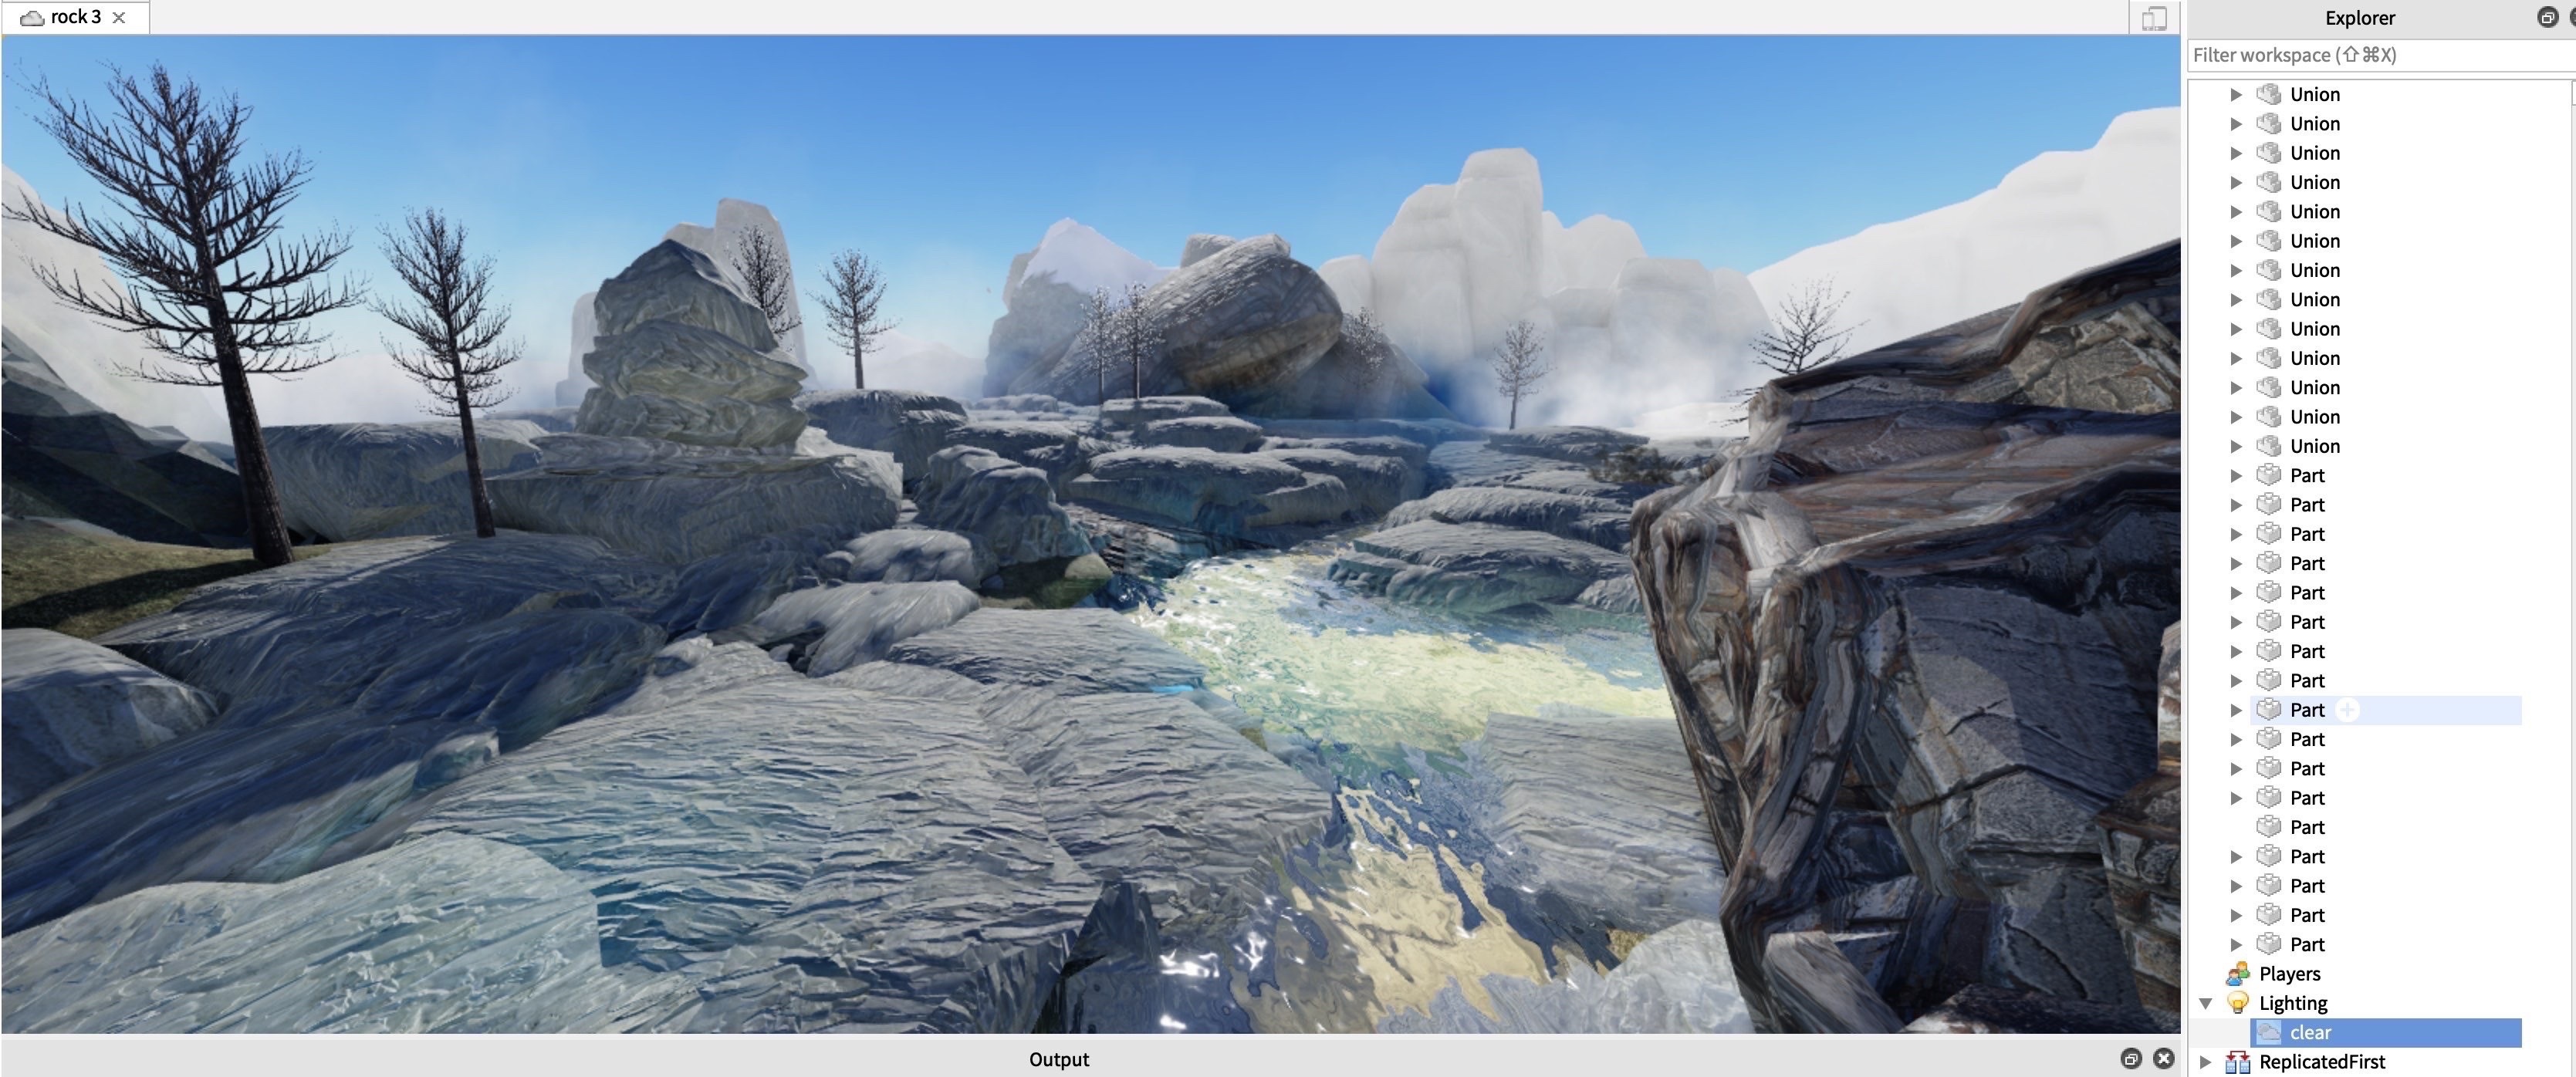
Building realistic terrains in Roblox Studio.
Related Articles
- How To Find Limited-Edition Roblox Items: A Comprehensive Guide
- How To Style Your Roblox Avatar Like A Pro: A Comprehensive Guide To Unleashing Your Inner Fashionista
- Best Roblox Games For Mobile Users 2025.
- The Rise Of Multiplayer Strategy Games On Roblox.
- Latest Roblox Updates: What’s New And Exciting
Introduction
Discover everything you need to know about Building realistic terrains in Roblox Studio.
This article delves deep into the process, revealing both established methods and some lesser-known "big secret" tips that will elevate your terrain building to a professional level. We’ll progress through a series of increasingly sophisticated techniques, culminating in a powerful workflow that will leave your players breathless.

I. The Foundation: Mastering Basic Terrain Tools
Before diving into advanced techniques, it’s crucial to master the fundamental tools Roblox Studio provides. Understanding these tools is the bedrock upon which all your advanced techniques will be built.
-
Terrain Manipulation: The built-in terrain editor allows for basic shaping, raising and lowering heights, and smoothing rough edges. Experiment with different brush sizes and intensities to achieve the desired level of detail. Don’t be afraid to make mistakes; you can always undo them! Start with broad strokes to establish the overall shape of your terrain, then refine it with smaller brushes for intricate details.
-
Heightmaps: Understanding heightmaps is vital. These are grayscale images where lighter pixels represent higher elevations and darker pixels represent lower elevations. Importing a heightmap into Roblox Studio instantly translates the image’s grayscale data into a 3D terrain. This allows for incredibly precise control and the ability to import pre-made heightmaps from external sources like elevation data websites or even your own digital paintings.
Material Application: Roblox offers a range of terrain materials (grass, sand, rock, etc.) that can be applied to different parts of your terrain. Experiment with blending materials to create realistic transitions between different land types. For example, you can smoothly blend grass into sand to simulate a beach or create rocky outcrops emerging from a grassy field. Pay close attention to how these materials react to lighting to enhance realism.
-
Water: Roblox’s built-in water system allows you to add realistic bodies of water to your terrain. You can adjust the water level, transparency, and even add waves for a more dynamic effect. Combining water with carefully sculpted terrain can create stunning lakes, rivers, and oceans.
II. Leveling Up: Advanced Techniques for Realistic Terrain Generation
Once you’re comfortable with the basics, it’s time to explore more advanced techniques that will significantly enhance the realism of your terrains.
-
Noise Functions: Noise functions (like Perlin noise or Simplex noise) are mathematical algorithms that generate seemingly random but visually appealing patterns. These are invaluable for adding realistic texture and variation to your terrain. By layering different noise functions with varying scales and amplitudes, you can create complex and natural-looking landscapes, including mountains, valleys, and rolling hills. Many scripting resources are available online to help you implement these functions.
-
Erosion Simulation: Erosion is a powerful natural process that shapes landscapes over time. Simulating erosion in your terrain can add a level of realism that is hard to achieve manually. While Roblox doesn’t have a built-in erosion simulator, you can find scripts and plugins online that perform this function, allowing you to create realistic canyons, riverbeds, and other erosion-related features.
-
Biome Generation: Biomes are distinct ecological regions characterized by specific plant life, climate, and terrain features. By combining noise functions, erosion simulation, and material application, you can generate realistic biomes within your Roblox world. For example, you could create a lush forest biome with dense vegetation and rolling hills, or a barren desert biome with sparse vegetation and rocky outcrops.
-
Detailing with Meshes: While the terrain editor is powerful, it sometimes lacks the precision needed for very fine details. In these cases, you can use custom meshes (3D models) to add intricate details to your terrain. This could include adding individual rocks, trees, or other small features that would be difficult or impossible to create using the terrain editor alone. Remember to optimize your meshes for performance to avoid lag.
III. The Big Secret: Mastering Workflow and Optimization
This section unveils some less-discussed, yet crucial, aspects of terrain creation that significantly impact the final product’s quality and performance.
-
Modular Terrain Design: Instead of creating one massive, monolithic terrain, break down your landscape into smaller, manageable chunks (modules). This allows for easier editing, better performance, and the possibility of reusing terrain sections in different parts of your world. This modular approach is significantly more efficient for large-scale projects.
-
Layered Textures and Normal Maps: Enhance the visual fidelity of your terrain by using layered textures and normal maps. Layered textures allow you to combine multiple textures to create a more complex and realistic surface. Normal maps add depth and detail to your terrain without increasing polygon count, significantly improving performance while maintaining visual quality. This technique is often overlooked but delivers exceptional results.
-
Performance Optimization: Large terrains can significantly impact performance. To mitigate this, employ techniques like level of detail (LOD) systems, where the terrain’s detail is reduced at a distance to improve frame rates. Consider using occlusion culling to hide parts of the terrain that are not visible to the player, further improving performance. These optimization techniques are often the difference between a playable and unplayable experience.
-
Lighting and Shadows: Proper lighting is crucial for enhancing realism. Experiment with different lighting techniques, such as ambient occlusion, to add depth and shadows to your terrain. Dynamic shadows cast by the sun or other light sources can significantly improve the overall visual quality and immersive experience. Don’t underestimate the impact of carefully placed lights.
-
Blending Terrain with other Assets: Seamlessly integrate your terrain with other assets like buildings, trees, and props. This creates a cohesive and believable world. Pay attention to scale and placement to avoid jarring inconsistencies. The connection between your terrain and other assets is crucial for a polished look.
IV. Beyond the Basics: Advanced Terrain Techniques and Considerations
This section delves into more advanced concepts that can elevate your terrain building to the next level.
-
Procedural Generation: For truly massive and varied terrains, consider using procedural generation techniques. This involves using algorithms to automatically generate terrain, allowing for the creation of vast and unique landscapes. This can significantly reduce the time and effort required to create expansive worlds.
-
External Tools and Software: Don’t limit yourself to Roblox Studio’s built-in tools. Explore external tools like Blender or other 3D modeling software for creating custom meshes and heightmaps. These tools offer greater flexibility and control over the terrain creation process.
-
Community Resources: The Roblox community is a treasure trove of resources, including tutorials, scripts, and plugins that can assist with terrain building. Engage with the community, share your work, and learn from others’ experiences.
-
Iteration and Refinement: Terrain building is an iterative process. Don’t expect to create a perfect terrain on your first attempt. Experiment, refine your techniques, and constantly strive to improve your work.
V. Conclusion
Building realistic terrains in Roblox Studio is a challenging but rewarding endeavor. By mastering the fundamental tools, employing advanced techniques, and understanding the importance of workflow and optimization, you can create immersive and believable worlds that will captivate your players. Remember to experiment, learn from your mistakes, and leverage the power of the Roblox community to unlock your full potential as a terrain builder. Continuously refining your skills and staying updated on new techniques will ensure your terrains remain at the forefront of Roblox’s visual landscape.
VI. Frequently Asked Questions (FAQs)
Q: What are the best resources for learning more about terrain building in Roblox Studio?
A: The Roblox Developer Hub is an excellent starting point. Additionally, YouTube tutorials and the Roblox community forums are invaluable resources for finding tips, tricks, and solutions to common problems.
Q: How can I improve the performance of my terrain?
A: Employ techniques like LOD (level of detail), occlusion culling, and optimized mesh usage. Breaking down large terrains into smaller, manageable chunks can also significantly improve performance.
Q: What are some common mistakes to avoid when building terrains?
A: Avoid overly complex or high-polygon terrains, especially in large areas. Ensure seamless transitions between different materials and avoid jarring inconsistencies in scale and placement of assets. Always test your terrain’s performance to identify and address potential bottlenecks.
Q: What software can I use alongside Roblox Studio for terrain creation?
A: Blender is a popular choice for creating custom meshes and heightmaps. Other 3D modeling software packages can also be used, depending on your familiarity and needs.
Q: How can I create more realistic water effects in my Roblox game?
A: Experiment with different water transparency settings, add wave effects, and consider using custom meshes or particles to simulate ripples and other water-related details. Appropriate lighting is also crucial for enhancing the realism of water bodies.
This article provides a comprehensive guide to building realistic terrains in Roblox Studio. Remember to practice regularly and explore the many resources available to continuously improve your skills.
[Source URL: (Insert a relevant URL here, e.g., a Roblox Developer Hub article or a tutorial video)] – This would be a link to a relevant tutorial or documentation from another website supplementing the information provided in this article.
Closure
Thank you for reading! Stay with us for more insights on Building realistic terrains in Roblox Studio..
Make sure to follow us for more exciting news and reviews.
Feel free to share your experience with Building realistic terrains in Roblox Studio. in the comment section.
Keep visiting our website for the latest trends and reviews.